How to Make an InDesign Table Run Across Multiple Pages, with Repeating Headers
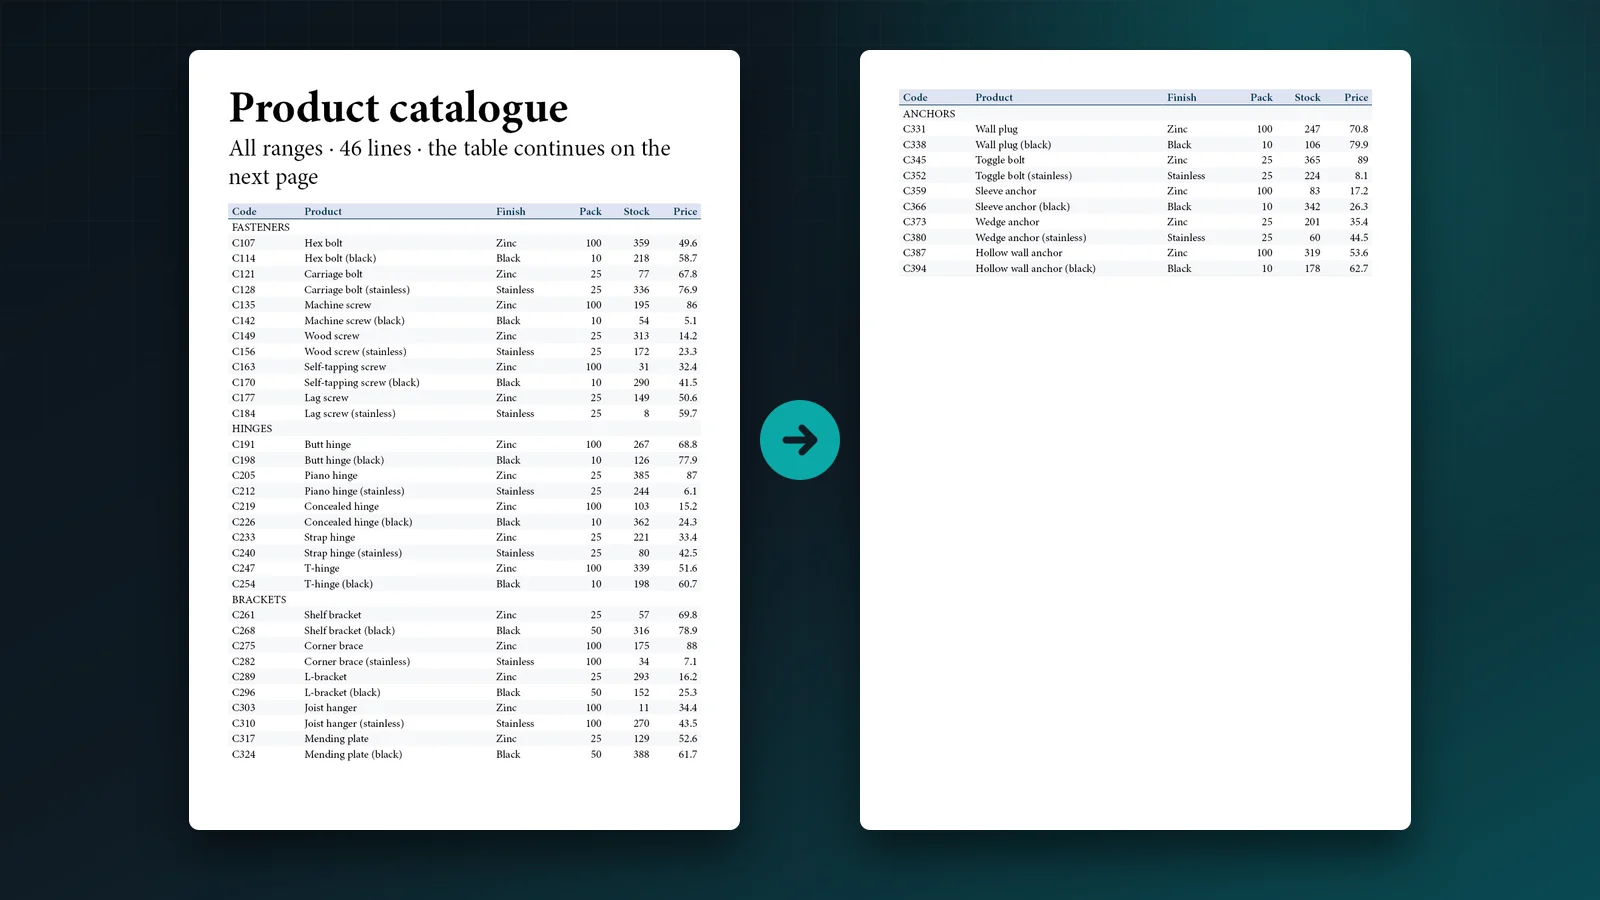
A product catalogue has 46 lines. The table starts on page 2, runs out of room, and continues on page 3. On page 3 the reader sees numbers with no column names above them. At the foot of page 2 a section heading, ANCHORS, sits alone, with all its products on the next page. Nothing is technically wrong, and the page still looks unfinished.
InDesign handles long tables well once it knows what each row is for. This guide shows how to set that up by hand, and how to do it in a few clicks.
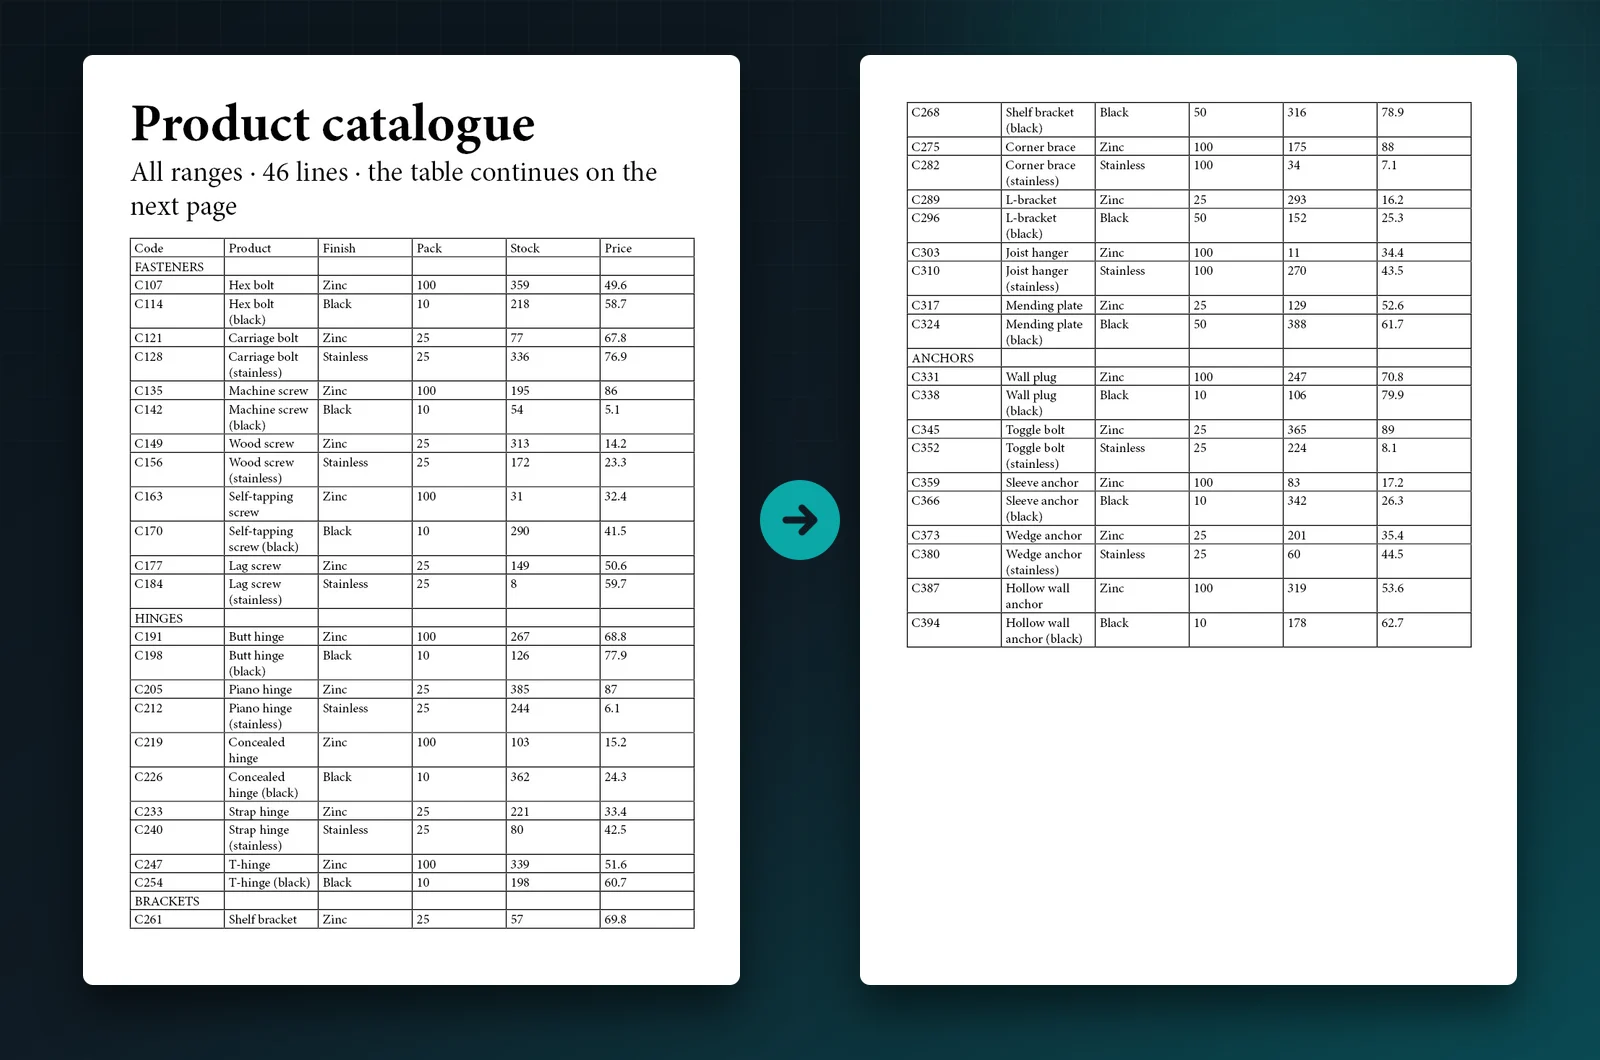
Before: on page 3 the columns have no names, and the ANCHORS heading is left at the bottom of page 2.
1. Let the table flow from frame to frame
An InDesign table lives inside a text frame, like a very large character. When it doesn’t fit, the frame shows a red plus sign in its out port: the rest of the table is overset.
To continue it on the next page, thread the frame to another one. Click the red plus sign with the Selection tool, then click inside the frame on the next page, or click on an empty page to create a frame there. Hold Shift while you click to autoflow and add pages until the whole table is placed.
For documents that grow and shrink, turn on Smart Text Reflow in Preferences > Type. InDesign then adds or removes pages as the table changes length.
InDesign breaks a table between rows. If one row is taller than the frame it would go into, the table cannot continue and stays overset. Check for unusually tall rows first.
2. Turn the column names into a header row
Typing the column names again on page 3 is the most common mistake. The copy is ordinary text: it moves when rows are added, and it ends up in the middle of the table after the next edit.
InDesign has a real solution, header rows, that repeat automatically wherever the table continues:
- Select the row that holds the column names.
- Choose Table > Convert Rows > To Header.
- Open Table > Table Options > Headers and Footers to choose where it repeats: Every Text Column, Once per Frame or Once per Page.
Skip First hides the header the first time it would appear, which is useful when a title row above the table already names the columns. The same tab sets footer rows, for a line such as “continued on next page” or a running note, with Skip Last to hide it on the final page.
Header rows can only be edited in their first appearance. The repeats follow automatically.
3. Keep section headings with their rows
Catalogues are usually grouped: FASTENERS, HINGES, BRACKETS, ANCHORS. A heading row at the foot of a page with its products on the next is called an orphan, and it is the second thing readers notice.
Select the heading row and open Table > Cell Options > Rows and Columns. Under Keep Options, tick Keep with Next Row. When the heading would be the last row of a frame, InDesign moves it to the next frame with its first product.
The same panel has a Start Row setting: In Next Text Column, In Next Frame or On Next Page. Use it when every section must start on a new page, for example one product family per page.
Do this for every heading row. In a 300-line catalogue it is tedious by hand, and the settings are lost if the rows are later sorted or replaced, so keep the list of headings at hand.
4. Watch the row heights
A row set to an exact height cuts off text that doesn’t fit, and InDesign shows only a small red dot in the corner of the cell. In a long table that dot is easy to miss on page 7.
In Table > Cell Options > Rows and Columns, set Row Height to At Least rather than Exactly for body rows. Rows then grow when their text needs a second line, and the table pushes the following rows to the next page instead of hiding text.
5. Check every page boundary
Text reflows each time a value changes, so check the result after every edit, not only once:
- The header appears at the top of every page or frame the table continues on.
- No section heading is the last row of a page.
- No cell shows the red overset dot.
- The last frame has no red plus sign, so no rows are left overset.
Do it in a few clicks with Table Refiner
Table Refiner is our InDesign panel for cleaning up tables. For a table that runs over several pages, it does the setup above for you, and shows every change before it is applied.
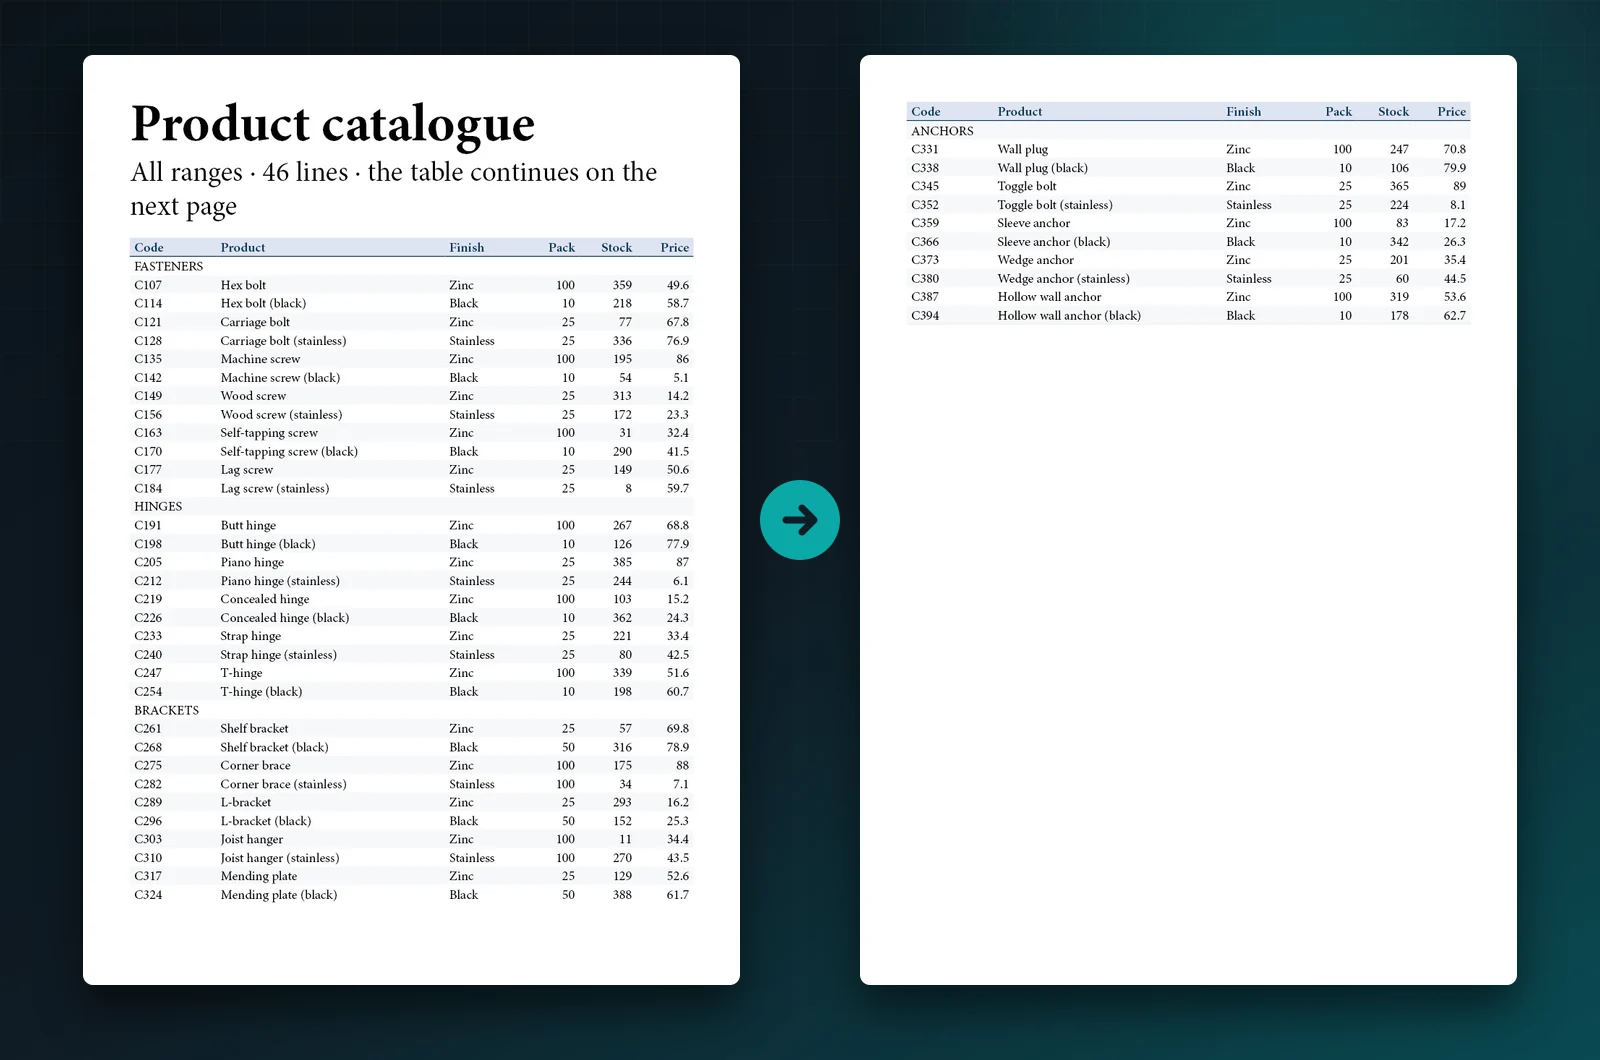
After: one header row repeats on page 3, the ANCHORS heading travels with its products, and the columns are fitted to the text width.
- Choose the table. Click inside it and choose Use this table. If the first row holds column names typed as ordinary text, the panel notices and offers Make it a header row. It is a suggestion only: nothing changes until you accept it.
- Set the headers. In Headers & breaks, set the number of header and footer rows and where they repeat. The panel uses InDesign’s own header rows, so the result behaves exactly like the manual setup above.
- Keep the headings with their rows. Edit row breaks… lists the rows, so you can tick every section heading at once and choose Keep with next. The rules follow each row by its code, so they survive sorting and data updates.
- Review and apply. The review lists the pagination changes. After applying, the panel checks that all text fits.
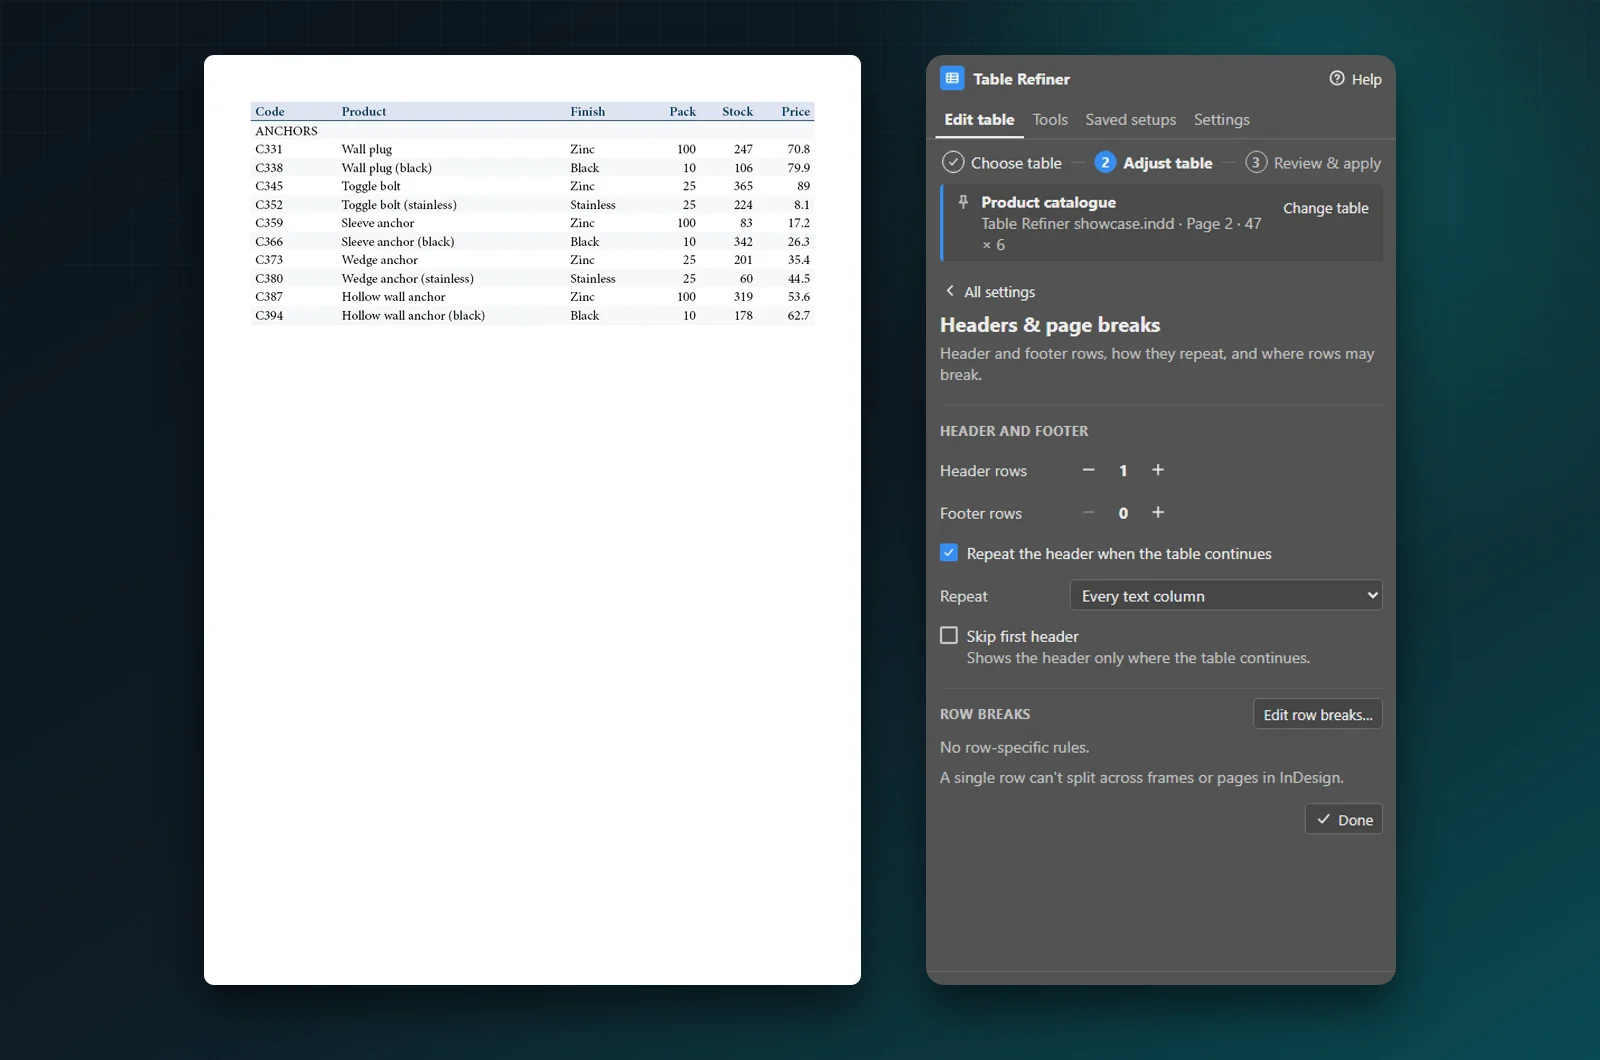
Headers & breaks: header and footer rows, and how they repeat.
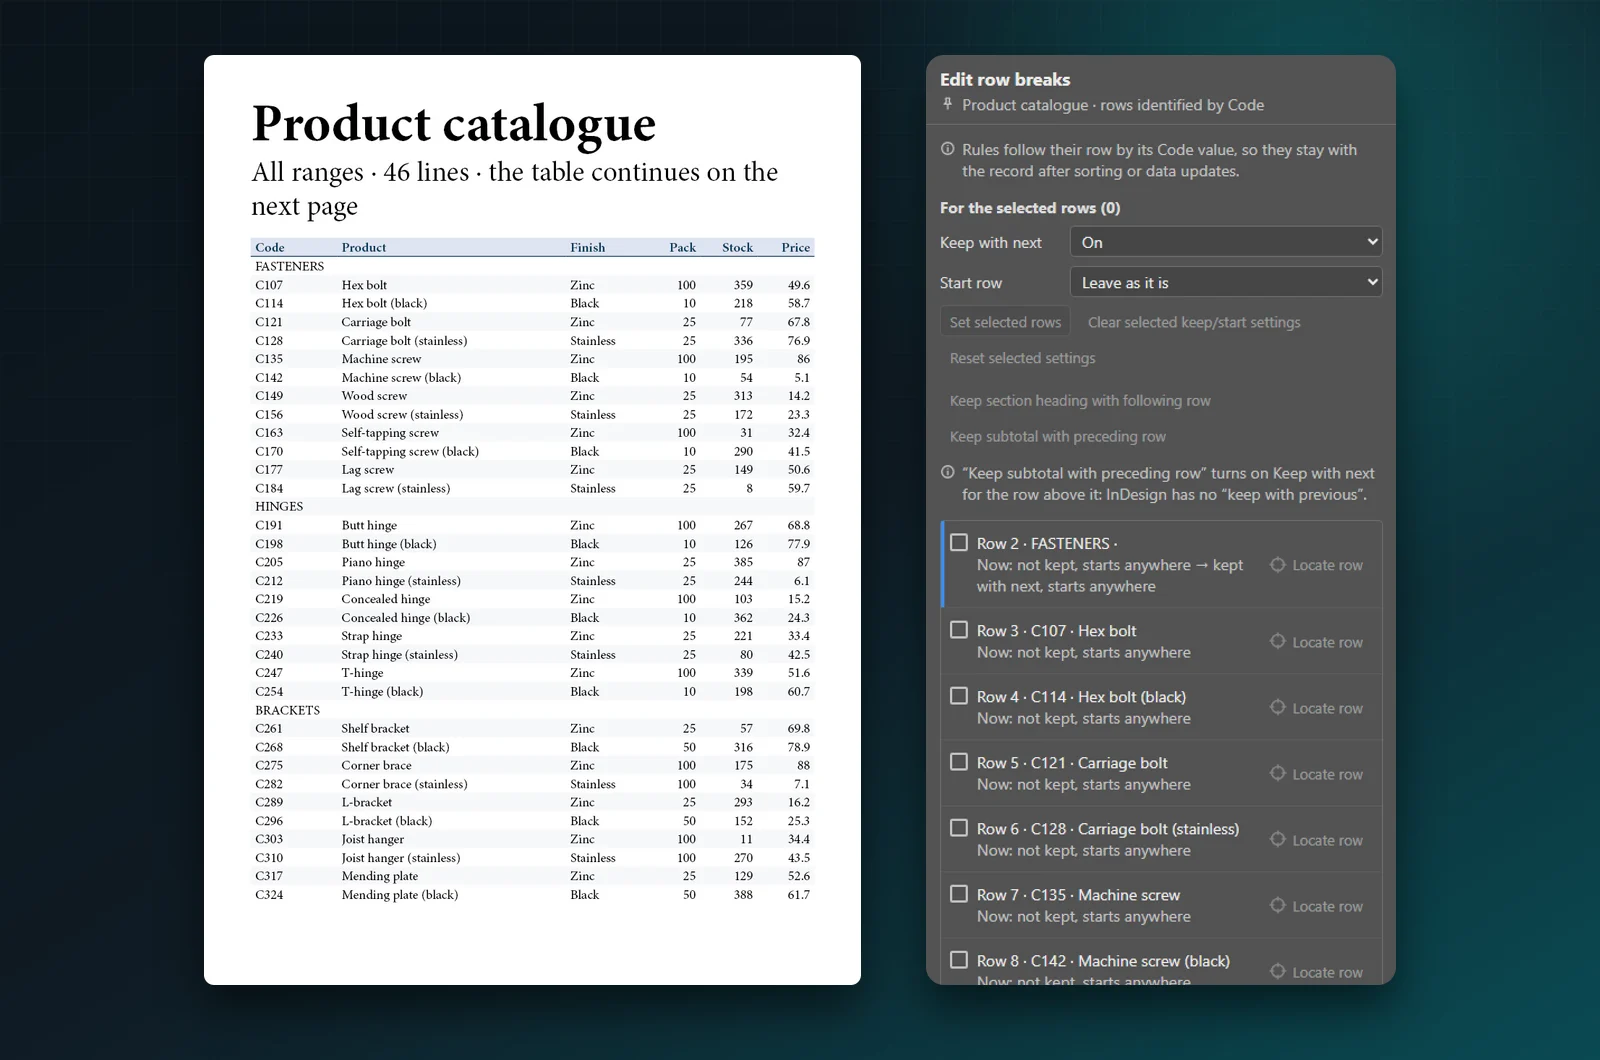
Edit row breaks: keep-with-next for every section heading in one place.
Table Refiner also fits the columns to the text width without shrinking type, and its Check table finds rows that clip their text and proposes At least heights instead of exact ones. Read more in why text disappears in InDesign table cells. When prices change, update the table from the supplier’s CSV file without losing its layout.
Quick checklist for long tables
| Problem | Fix in InDesign |
|---|---|
| Table stops at the end of the frame | Thread the frame, or Shift-click to autoflow |
| No column names on the next page | Table > Convert Rows > To Header |
| Header repeats in every column, not every page | Table Options > Headers and Footers > Once per Page |
| Section heading alone at the foot of a page | Cell Options > Rows and Columns > Keep with Next Row |
| Text cut off in a cell | Row Height: At Least instead of Exactly |
| Table won’t continue at all | Look for one row taller than the next frame |
Building catalogues from a database or a product feed, and need the whole layout automated? Talk to us. We build custom InDesign automation as well as plugins.
This article is part of our InDesign tables guide, which covers a table from import to print.